A brief about vnet: vnet stands for Virtual Network. It is the building block for the Azure network and enables Azure resources to communicate with each other or with the on-prem network via VPNs.
- Create the virtual network with the address range for example 10.0.0.0/16
- Create a subnet from the above range for example 10.0.0.0/24 so the IP range is 10.0.0.0-10.0.0.255
- Azure reserves the first 4 addresses and the last address
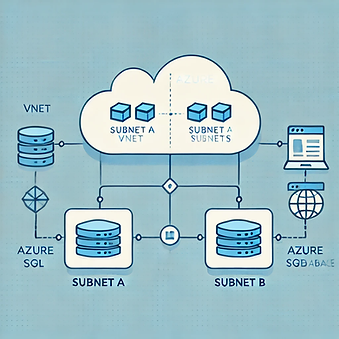
Virtual Network
If the resources are on different virtual networks then it will need vnet peering to communicate with each other. There are 2 types of peering:-
- Virtual network Peering - works within the same Azure regions
- Global Virtual network peering - Works across Azure regions
The communication happens on the MS backbone and it does not need the internet connection.
How to create the vnet peering?
1. Prerequisites
- Two VNets: Ensure you have two virtual networks in the same or different Azure regions.
- Non-overlapping address spaces: The IP address ranges of the two VNets should not overlap.
2. Navigate to the Azure Portal
- Sign in to the Azure Portal.
- Go to the Virtual networks service.
3. Configure VNet Peering for the First VNet
- Select the first VNet (e.g., VNet-A) from the list.
- Under the Settings section, click on Peerings.
- Click on + Add to create a new peering.
4. Fill in the Peering Settings
- Name: Provide a meaningful name for the peering (e.g., VNetA-to-VNetB).
- Peer Virtual Network: Choose the second VNet (e.g., VNet-B) from the dropdown.
- Peering Settings: Configure as needed:
- Allow virtual network access: Enable if resources in both VNets should communicate.
- Allow forwarded traffic: Enable if required for specific scenarios.
- Allow gateway transit: Enable if using a shared gateway for on-premises connectivity.
- Click Add to create the peering.
5. Configure VNet Peering for the Second VNet
- Go to the second VNet (e.g., VNet-B) and repeat steps 3 and 4.
- Ensure the peering name reflects the reverse direction (e.g., VNetB-to-VNetA).
6. Verify Peering
- Go to the Peerings section of both VNets and ensure the status is Connected.
- Use network tools (e.g., ping or tracert) to confirm connectivity between resources in the two VNets.
Azure vnet Peering